

The Dutch oven is an all-purpose and versatile cookware tool that can turn a river kitchen into a five-star restaurant. For those who have never cooked with a Dutch oven, it may be a little intimidating at first. If you follow a few easy steps, using a Dutch oven will soon be a favorite way to prepare a meal. There’s a lot that I could cover in discussing Dutch ovens, going well beyond recipes. I want to go over some of the different techniques and ideas that I encourage the IRJ crew to follow when preparing and cooking a Dutch oven meal on the banks of the Middle Fork Salmon River.
Aluminum vs. Cast Iron
One of the most common questions I get asked is, “Which type of dutch oven do we use on our trips, aluminum or cast iron?” For as long as people cook in dutch ovens this will be debated. There are pros and cons to using either one. The main reason we use aluminum is the weight. A 14-inch aluminum Dutch oven weighs eight pounds while a cast-iron Dutch weighs 25 pounds. On most of our trips, we carry six Dutch ovens, which in the aluminum versus cast iron debate makes for about a 100-pound weight difference.
Preparation of the Dutch Oven
Our crew is meticulous in how they handle food preparations. A good chef starts with a clean table. The Dutch oven should be cleaned before use. Depending on the meal, you will want to oil the Dutch or use parchment paper. Most desserts have oil in the ingredients, so you don’t need much more to prepare the Dutch.
Placement of the Dutch
There is a critical final step before the charcoal is placed on the Dutch oven. Find a flat surface and use a landing pad that can retain the heat from the coals and support multiple ovens. I prefer using an aluminum pizza pan, as it is lightweight, flat, and easy to use. If you don’t have a pizza pan you can use the lid from another Dutch oven.
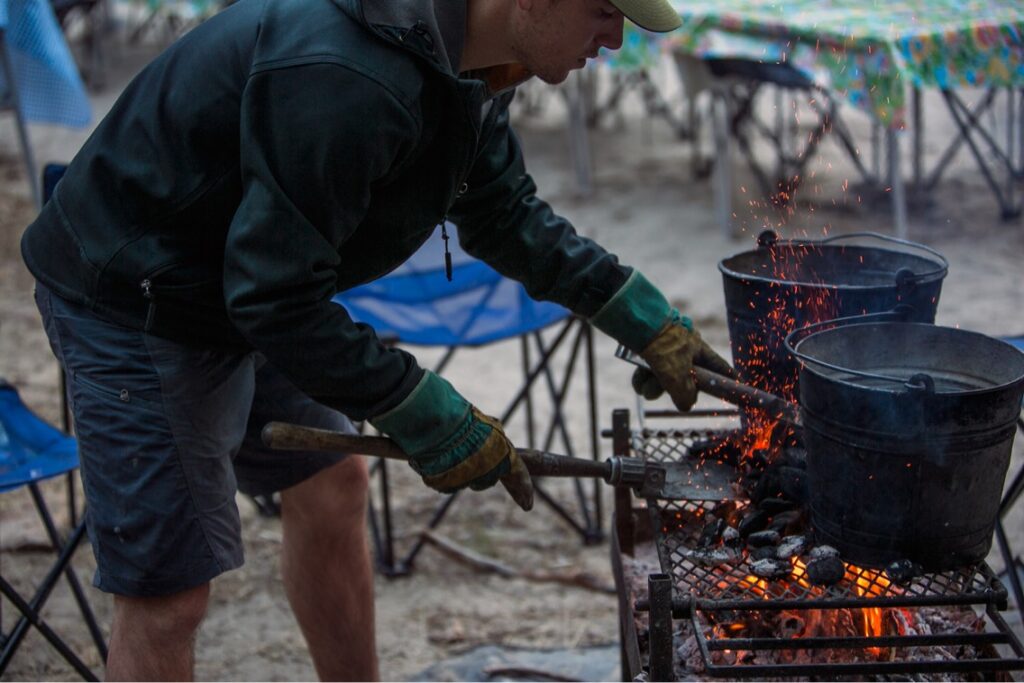
Coals
The fuel used for cooking with the Dutch oven is charcoal. When laying the charcoal out over a fire make sure you don’t leave it on the fire griddle too long, causing the coals to turn into ash. For proper coals, I look to see if they have stopped smoking or at least two-thirds of the coal is red. At this point, they’re ready to properly heat the Dutch oven. When placing the coals on the Dutch oven it is important to take your time and be safe. Our guides use a shovel and fire tongs to safely place the hot coals onto the Dutch. It seems this task is best with two guides, one shoveling coal onto the Dutch and the other arranging the coals.

Number of Coals
This is another hotly debated topic within the Dutch oven community. When placing coals, consider what you are cooking and how long it needs to cook. For instance, if you are baking a dessert, you don’t want to dry it out so less heat is fine. If you are cooking potatoes or meat, you will want to use more heat.
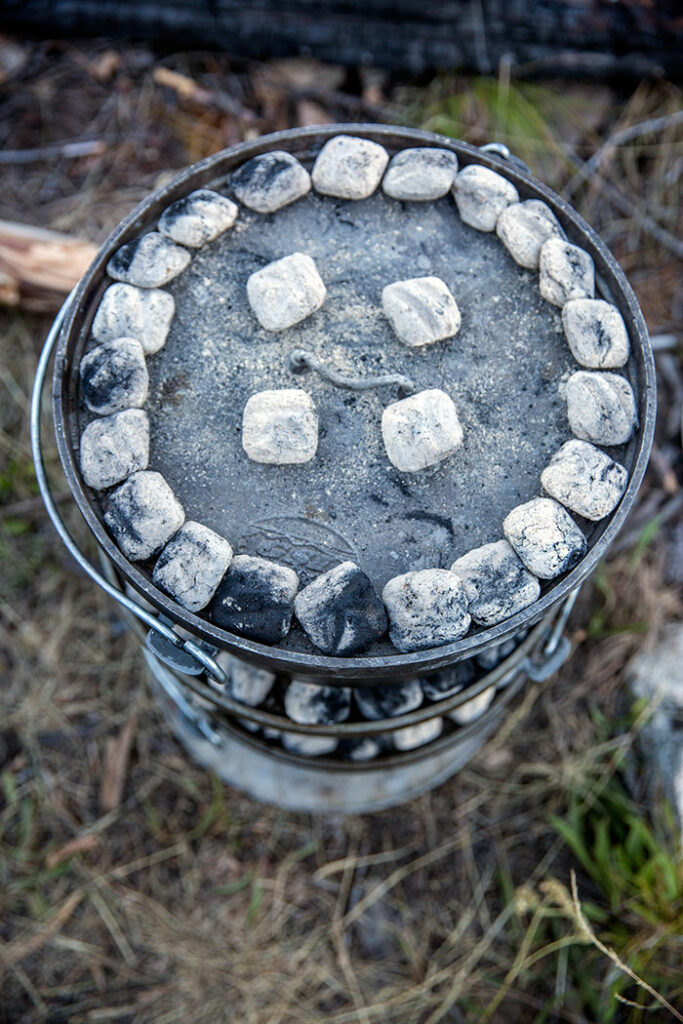
- The one-third method seems to be the most accurate. Take the number of coals you place on top and divide by three for the bottom.
- Use even heat. “Ring” the coals around the Dutch oven lid. Place two to four coals in the middle of the lid around the handle.
- Use less heat on the bottom. As heat rises, the more coals you place on the bottom, the higher the probability you could burn the food.
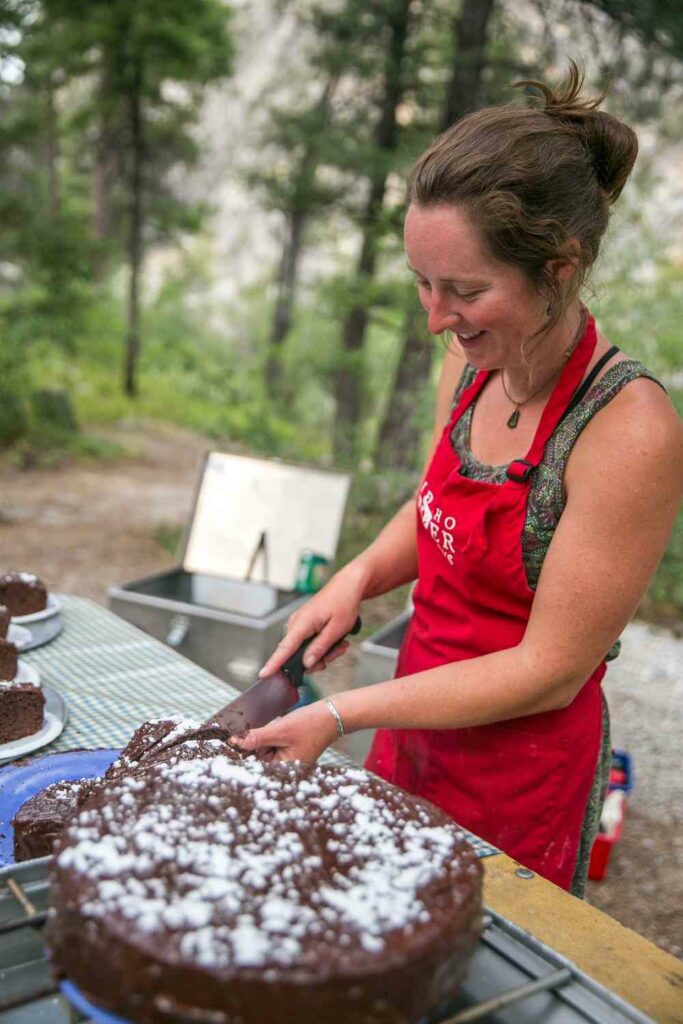
Checking the Dutch Oven
Our guides use channel locks to lift the Dutch oven lid to check for color and doneness. It is important to know what you are looking for to see if the food is done. Is it golden brown, bubbly, pulled away from the edges, still jiggly? Know what you want to see, then check the Dutch. The moment you open the lid, you will lose valuable heat, so lift the lid sparingly. If your meal is cooked, then you want to properly take the coals off to let the dish rest. Use channel locks and “tap” the lid of the Dutch oven back into the fire and let the coals slide off. Do the same with the bottom coals on the pizza pan.
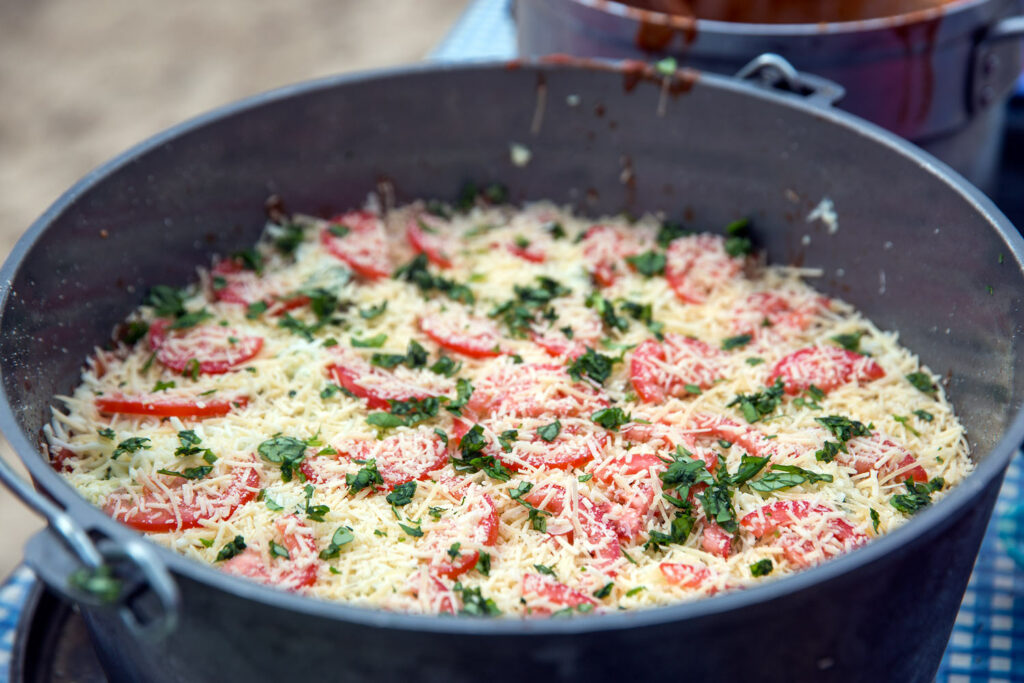
Serving the Dutch
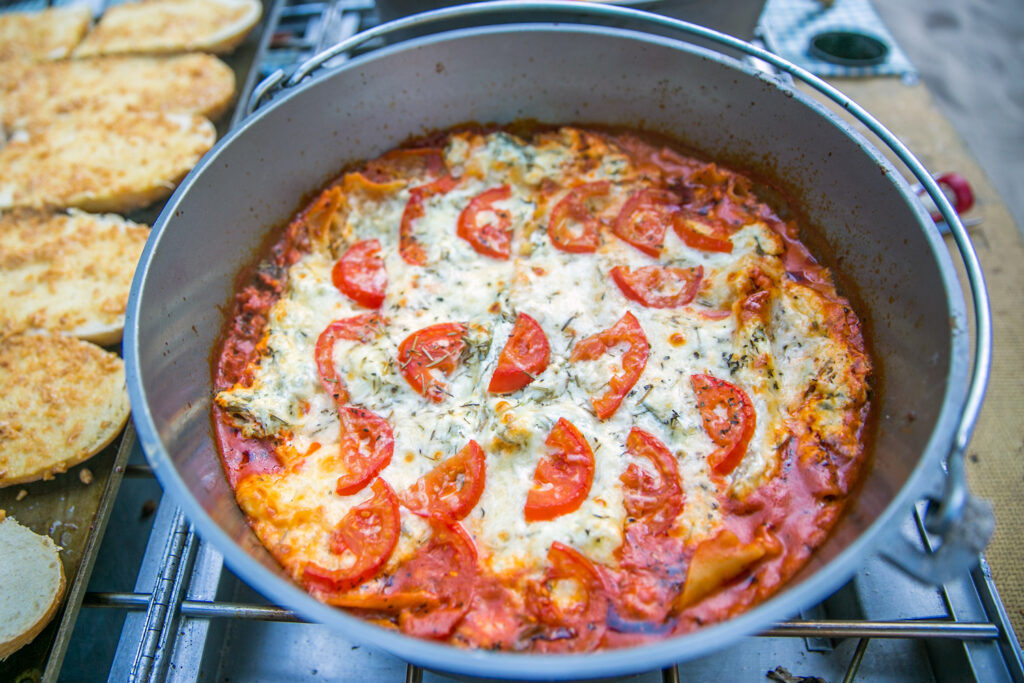
Even if you are using an aluminum Dutch oven, there will still be some residual heat. I would recommend finding a secure location and placing the Dutch there without the lid so that the meal can rest and cool. For instance, a popular Dutch oven meal, lasagne, is best served when the ingredients have time to cool. This allows the melding of flavors and makes serving easier.
With some planning, imagination, and prep work, you’ll be amazed and roundly applauded for what you cook with your Dutch oven. Bon appetit!